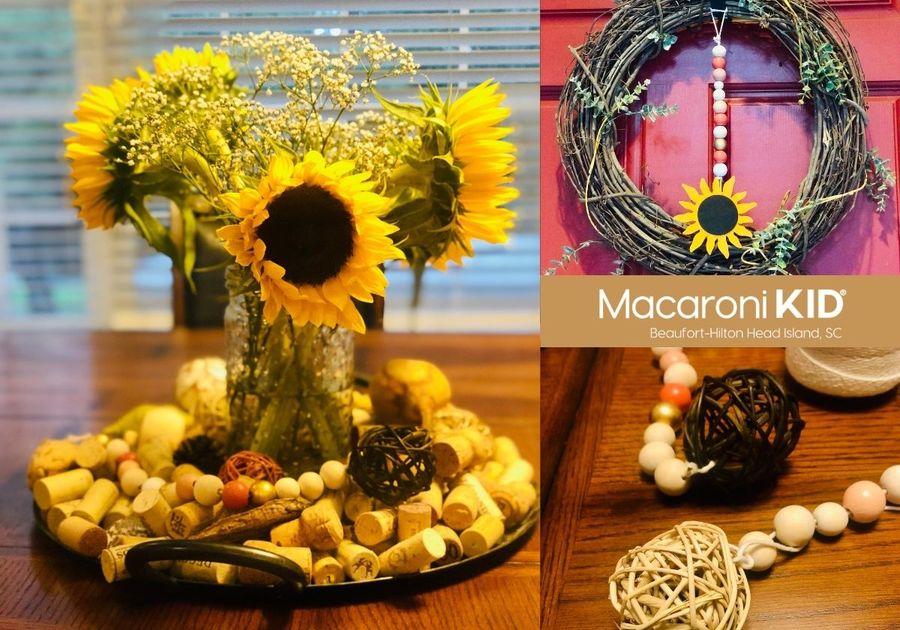
When my husband and I were pregnant with our first child, someone gifted me "blessing beads" for the nursery. It was the sweetest gift and I love looking at those beautiful beads draped across my son's shelf every day. The word blessing can have different meanings, but my favorite meaning is something promoting or contributing to happiness, well-being or prosperity."
Blessing (or welcome beads) can be the perfect mom gift for any occasion and I had so much fun making these with my son. We created several for around our house plus fall gifts for family members.
Here is how we made ours, but the possibilities are endless. Enjoy!
DIY Blessing/Welcome Beads
What you need:
- String or Twine (whatever you have around the house or purchase at a local craft store/amazon)
- Large Wood Beads
- Tape
- Scissors
- An end piece like a tassle or wooden ornament (examples below)
What to do:
- Clear off your kitchen table for lots of room to spread out.
- Put your wooden beads in a bowl for easy access.
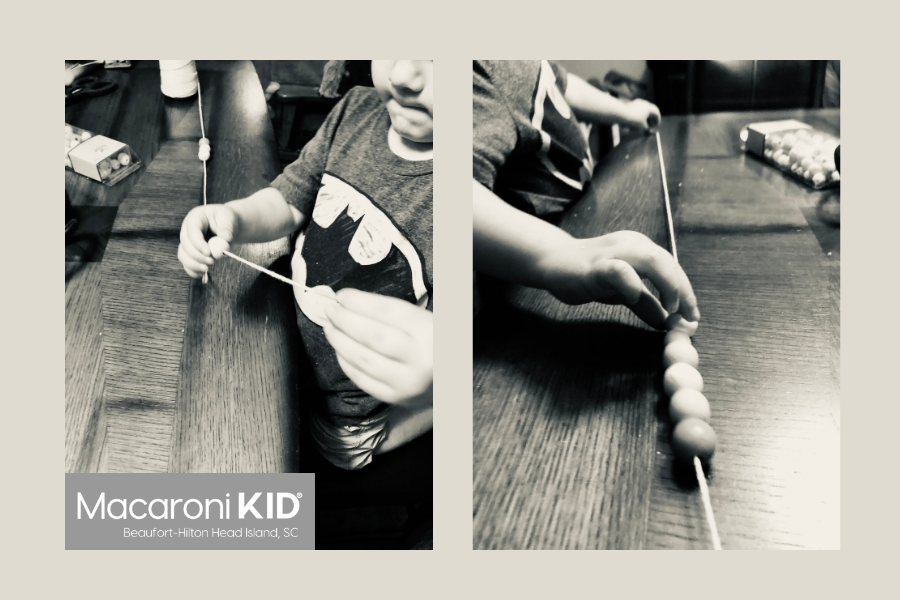
- Unravel enough string for the size of blessing bead you want. I prefer to keep the string attached to the coil until the very end. This is especially helpful if your child is stringing the beads so they don't fly off the other side.
- Put tape on the end of the string that you will be threading the beads. This makes it so much easier!

- Thread the beads in any color combination you wish.
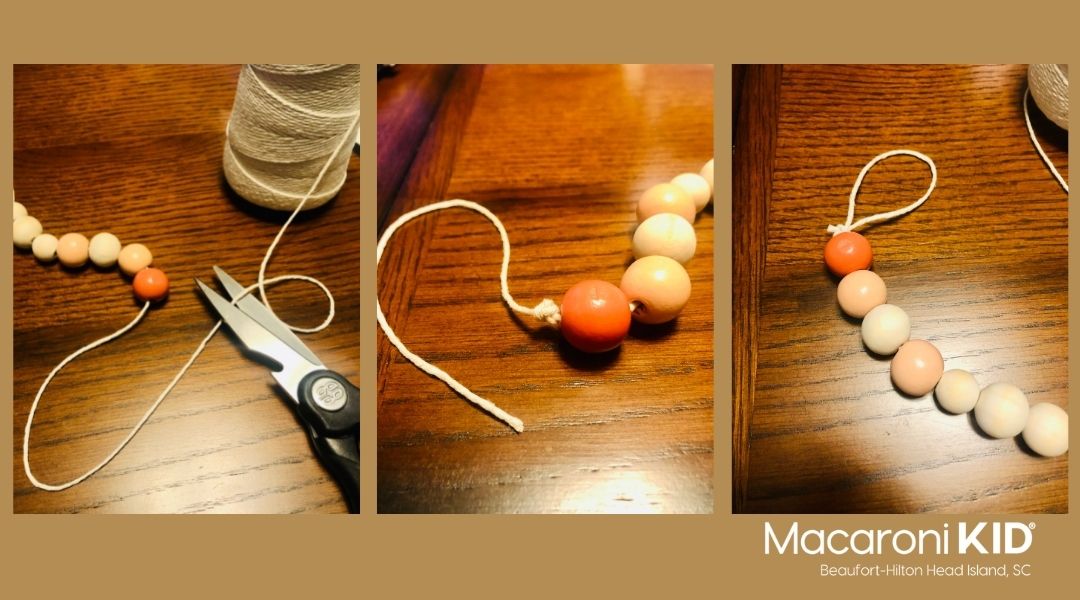
- End #1:
- Once you have your desired length of beads, cut the string off the coil with enough extra string to either tie a loop or an end piece.
- Tie a knot (or two, or three) at the base of the beads to secure them.
- Finish off the end with either a loop for hanging or an end piece. This could be a tassle, wooden ornament, or really any sort of decor that you can tie.
- Cut off any excess string.
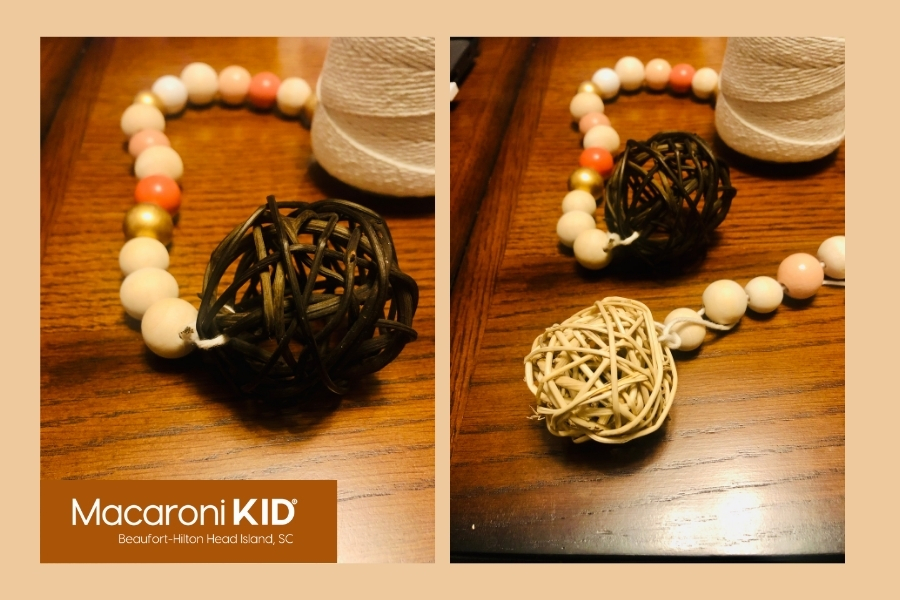
- End #2:
- Tie a knot (or two, or three) at the base of the beads to secure them.
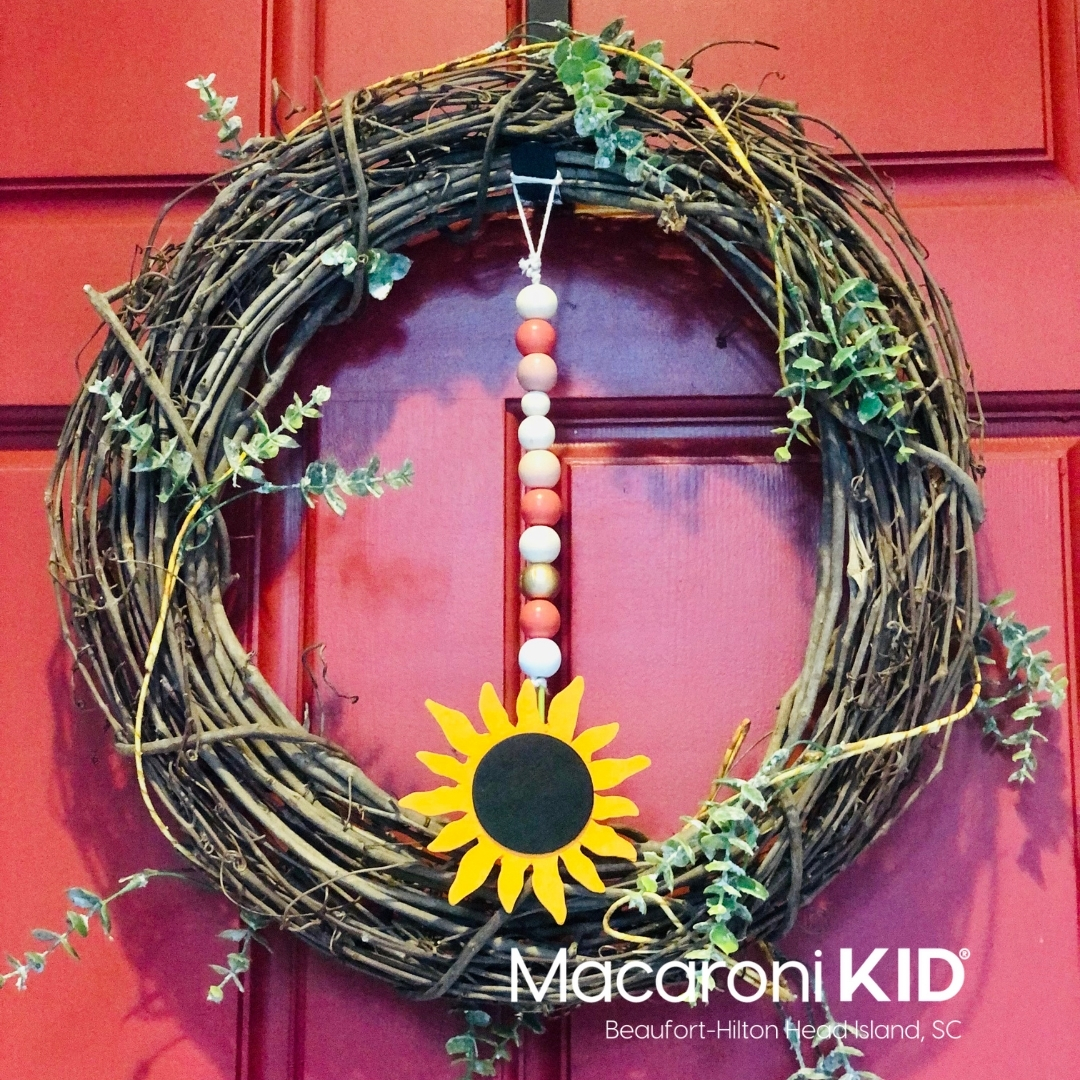
- Tie on a tassel, wooden ornament, or really any sort of decor that you can tie. For this example, I used decorative twine balls that I had in my house.
- Cut off any excess string.
- Time to decorate! Drape on an entry way table, add to a centerpiece, hang on a doorknob or connect it to your door wreath.
- Create blessing/welcome beads for any occasion, holiday or season.

Tip: Go to your local craft store or search on amazon for unique ends to tie on your blessing beads. I searched for "wooden ornaments" + whatever holiday I was interested in and found some really fun things. Another idea is to search for "tassels" or "chair ties" and then just cut to the size you want. I also looked around my house and found random decorative pieces that I no longer use that ended up being perfect to tie onto an end.
We had so much fun making these fall beads that I started searching for additional beads to purchase for all holidays/seasons. Here are some ideas for you.
Halloween
Beads
Beads
End Piece - Wooden Pumpkins
End Piece - Halloween Gnomes
Thanksgiving/Fall
Plain Wood Beads
Bead + Ornament + String Combo
End Piece: Black and White Gingham Chair Tie
End Piece: Leaf with Writing
Christmas
Beads
Beads
End Piece - Wooden Ornaments
Valentines Day
Beads
Beads
Beads
End Piece - Heart
4th of July
Beads
Beads
End Piece - Wooden Ornaments
Everyday
Neutral Tassel
Mermaid Oyster Shell
Jute Tassel
Sunflower Ornament
Geometric Wood Beads
Beads